 Backyards
 Front Yards
7 Steps to the Perfectly Planted Tree
How to plant a tree that will live for decades & add value to your home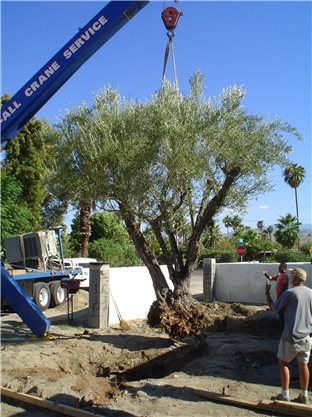
A tree well planted will live for decades, even centuries. Fail to plant it properly and your investment in years of care results in disappointment. Most of these problems can be avoided altogether if you select the right species, plant it properly and perform routine maintenance. With each mature tree adding up to ten thousand dollars to the value of your home, you can't afford not to get it right.
Step 1 - Choose a vetted species
Every city in America has a list of approved street trees. These have been carefully selected for beauty, size, longevity, rooting characteristics, litter potential, structural integrity, climatic suitability, and resistance to any major pests or diseases. Choosing an unvetted tree is much like investing in a company without first seeing an earnings report.
- Pro Tip: Check your city planning department's web site for the local street tree list online.
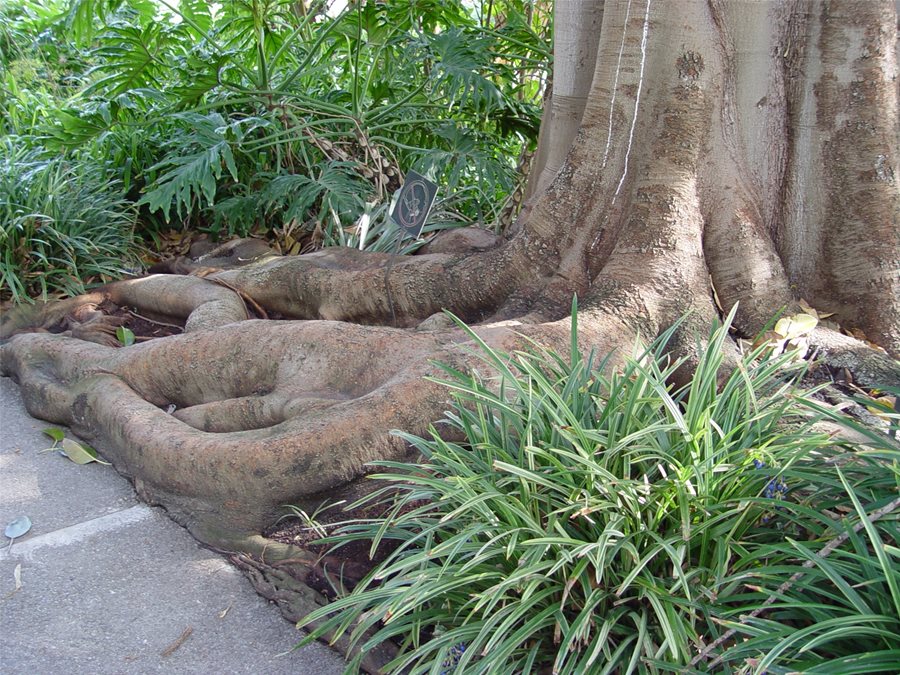
Step 2 - Location
A few feet in one direction or another can be enough to turn a great tree into a problem that requires its removal. Before planting your tree, take time to study the proposed location and how the tree canopy will influence everything around it after reaching full size. A suitable location also includes growth and environmental factors such as adequate sunlight, sufficient root zone and drainage.
- Pro Tip: Never plant a tree unless you know its ultimate height and diameter at maturity.
Step 3 - Hole Size
Most landscape trees are sold in nursery containers that range from 5 to 15 gallon pots, or 24" square boxes to massive ones. The tree's root ball is the mass of soil and roots that sits within the container. The hole you dig must have a diameter large enough to accommodate the entire root ball with ease. A rough rule of thumb is to dig a hole twice the diameter of the root ball.
- Pro Tip: Never shave a root ball to make it smaller so it fits into a planting hole; dig a bigger hole.
Step 4 - Hole Depth
Note the surface of the soil relative to the base of the trunk while the tree is still in its container. When the root ball sits in the hole you dig, that surface must be perfectly level with the surface of the surrounding natural soil. Use this as your guide to how deep to dig your hole. The rootball cannot stick up higher nor drop down lower than this elevation.
- Pro Tip: To help you set the tree at the perfect elevation, use a piece of 2x4 or even a broom handle as a leveling guide. Simply set the root ball into the hole then place the leveling guide so it spans the hole at its center. If there's a gap under the 2x4 your root ball is too low. Remove the root ball, add soil, then replace and gauge it again for accuracy.
Step 5 - Backfill
There will be a pile of soil excavated from the hole. Where soil is not ideal, it's wise to mix compost into the excavated pile to make the backfill more like the potting soil already around the roots. Lightening heavy soil helps the tree root out into new soil more quickly than it might if there was only clay in this area. Replace the soil around the root ball in layers a few inches deep. Compact each layer with the handle-end of your shovel, tamping it down as you go to eliminate any air pockets. With a larger hole you can use your boot the same way.
- Pro Tip: If you live where soil PH tends to be on the acidic side, add some phosphorous to the backfill to make nitrogen more readily available to the new roots.
Rehabilitating a Shocked Tree
If you plant properly in mild weather, there's rarely much chance of transplant shock, but if the root ball disintegrates during planting, shock can follow. Insufficient watering-in is the most common cause, which results in root death and leaf drop. To rehabilitate a shocked tree, apply Superthrive, a slurry of rooting hormones that has been used by the industry to treat damaged plants. It's a cheap, time tested remedy available in any garden center, and is highly effective in helping to repair all kinds of plant tissues. You can use Superthrive on any newly planted tree as a preventative and to stimulate more active rooting after transplanting.
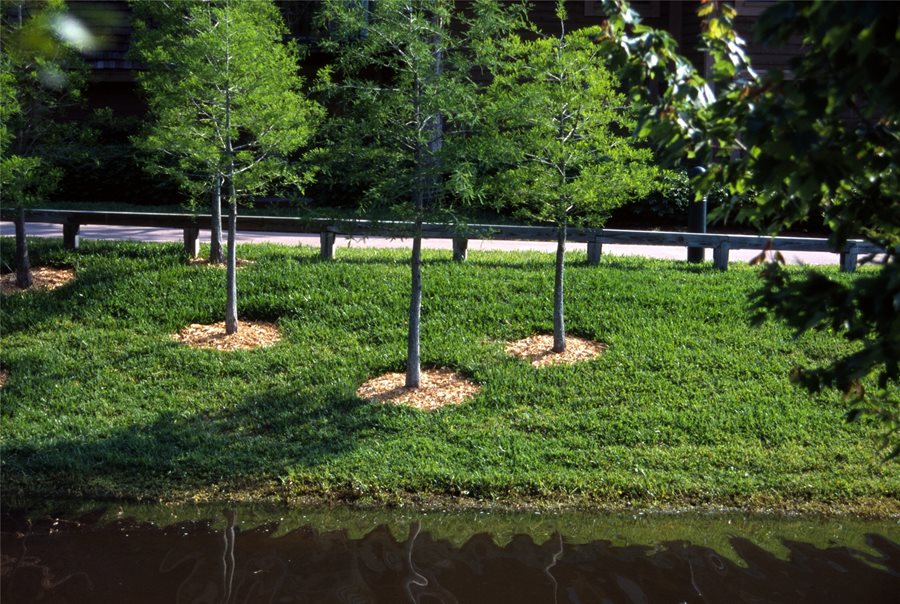
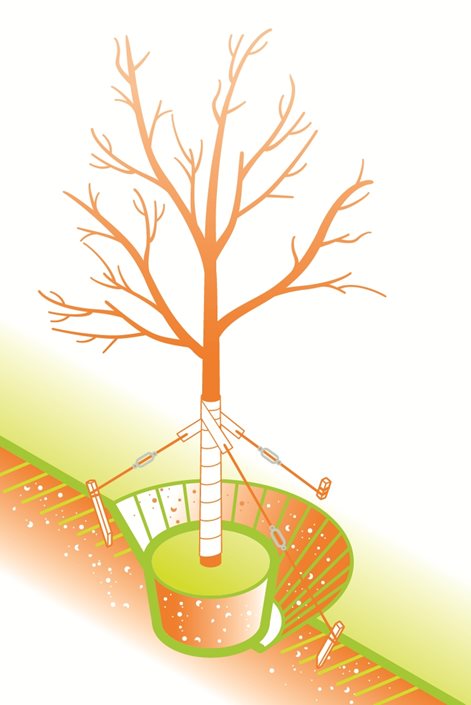
Step 6 - Make a Well
To give your tree a good start, be sure there's plenty of water delivered to the root ball and the backfill. Create a well around the base of the tree to concentrate water directly over the root ball. Fashion a berm up to six inches tall and wide. Set the berm on undisturbed soil around the outside edge of the hole. Pack it down tightly with your hands just like a river levee so there are no loose spots where water may penetrate and break the levee when you water the tree.
- Pro Tip: If you're planting on ground that is not perfectly level, make the berm higher on the downhill side.
Step 7 - Watering-In
Watering the tree after planting is essential to preventing the root ball from drying out, which can be very difficult to re-wet once the tree is in the ground. This is why watering-in requires thorough saturation of the root ball and the backfill. Water ensures the tiny gaps in the soil are collapsed before they can cause microscopic root hairs to die, which limits water uptake. Use the garden hose to fill the well you created around the base of the tree. After this water percolates down into the soil, fill the well a second time for good measure. If you encounter very hot, dry or windy weather in the days after you plant the tree, repeat this step every day or two so that there is plenty of moisture available to the roots.
- Pro Tip: After you water in well, double check the elevation of the root ball. Sometimes it will settle after you water it in, causing the base of the trunk to sit too low where it's vulnerable to crown rot.
Learn more about landscape plants

