Backyards
 Front Yards
How to Build A Fence
Nine steps for installing a simple wood board fence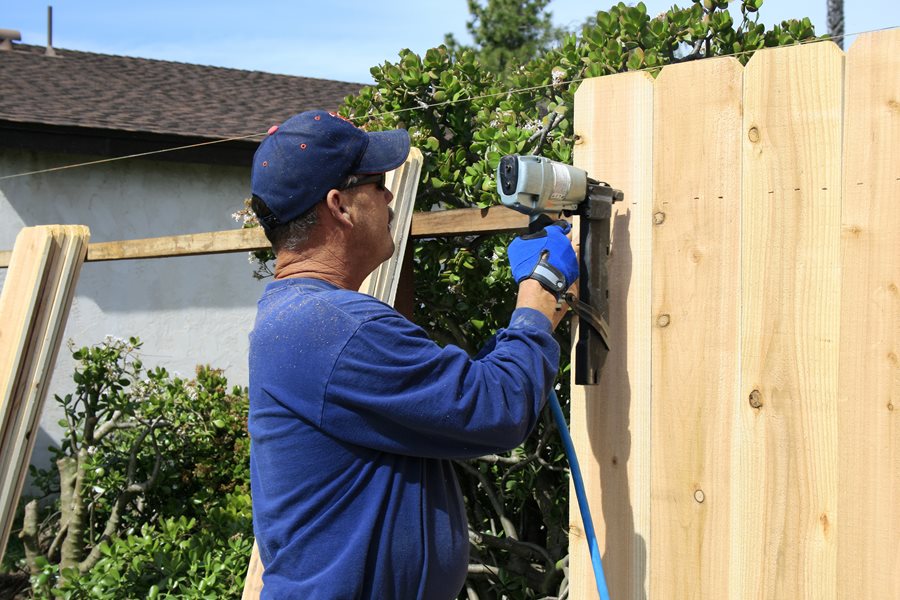
An automatic nail gun makes quick work of attaching fence boards to wooden rails.
Building fences is a popular do-it-yourself landscaping project, but contractors who do it every day produce first class results. The fundamental components of a fence are the posts, which must be set plumb in an adequate foundation, accurately spaced and lined up perfectly. Even a small jog in the location of a post will stand out like a sore thumb. Proper installation also ensures that the posts are set in a way that slows the inevitable decomposition process of wood underground.
WARNING: Discuss any perimeter fencing project with neighbors before replacing an older pre-existing fence to avoid any conflicts. The "back" side of your new fence may face their yards. This helps to determine any property line conflicts before you begin the project.
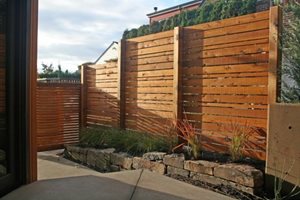
Building a Simple Wood Board Fence
While the following steps apply to a basic wood fence, the concept is universal. Virtually all fences are set up this way, only the materials and alignment changes.
Step 1 - Set the corners.
The corner posts are the most important part of any fence. They are controls that dictate everything else you do. If there are jogs in an irregular fence line, set the pivotal posts here as well.
Step 2 - Install corner posts.
The corner posts may take a great deal of pressure from spans running in two different directions. Installing them with great care ensures that you begin with an accurate point of reference. From these posts come the stringlines that dictate where all the other posts should be placed.
Step 3 - Run Stringlines.
Once the control posts are in place, connect them with stringline to establish each straight line span.
Step 4 - Measure and mark post locations.
Once stringlines are in place, you can then measure to determine the locations of all other posts. If you are left with a small partial span at the end of a run, go back and adjust the other spans to take up the difference, but do not exceed the maximum span dimension. If the difference is too great for minor adjustments, use a partial span.
Step 5 - Dig holes and treat posts.
If special wood preservative is being used to prevent subgrade decomposition, this is the time to apply it. Dig the hole for each post at the location indicated by the string line, then set the treated post in the hole.
Step 6 - Install posts with concrete.
Your fence may be installed with or without concrete. Most use concrete for strength and to protect the wood from direct soil contact. Each post must be set perfectly plum in the concrete and braced if necessary to prevent leaning as the concrete sets up over a few days before moving on to the next step.
Step 7 - Attach top and bottom rails.
Concrete footings must be completely set before you begin adding other elements to the fence. Depending on design, you may have two or three rails to hold the fence boards. These must be carefully set and leveled, and attached by nails or screws to the posts.
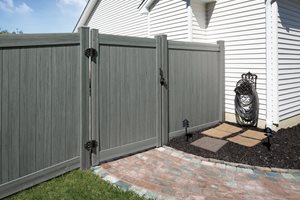
Step 8 - Attach face boards.
This is where the greatest variation occurs in fence construction. For a typical board fence, the planks are added to the face at this point and attached to the rails. Fasteners may be screws or nails.
Step 9 - Seal, stain or paint.
Whether or not you seal the fence depends on materials and climate. In most regions a waterproofing sealer helps to extend the lifespan of a fence.